










Create a new row with a single column and add an Image Gallery element.
Image Gallery

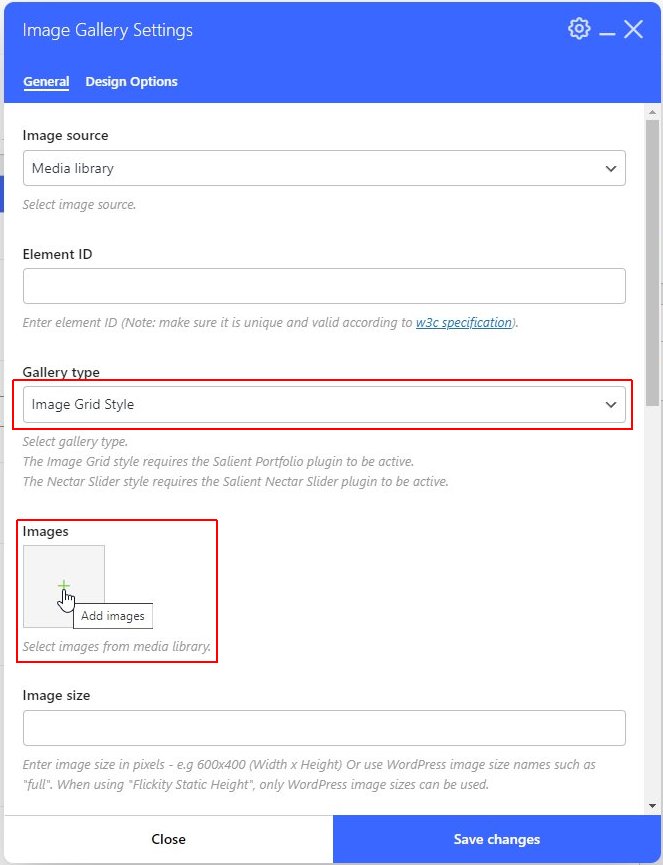
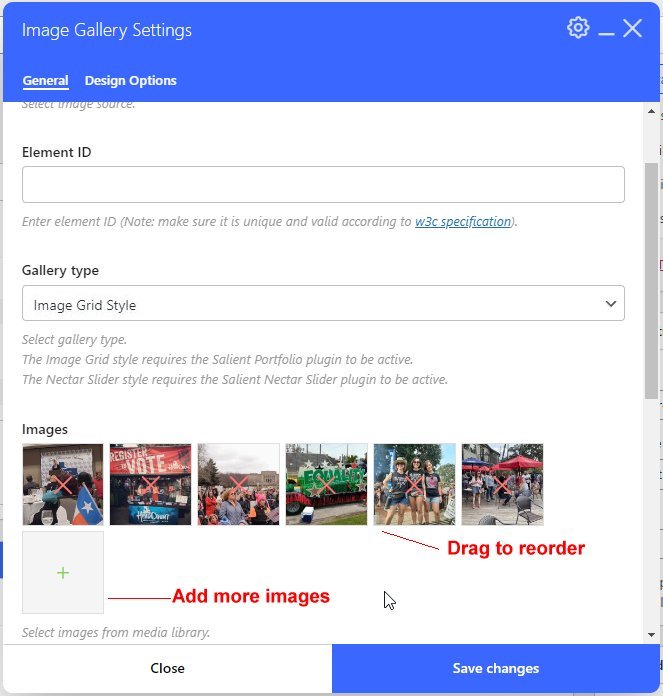
Select Image Grid Style from the Gallery type dropdown list.
Click the Add images icon to add the images you want to use.
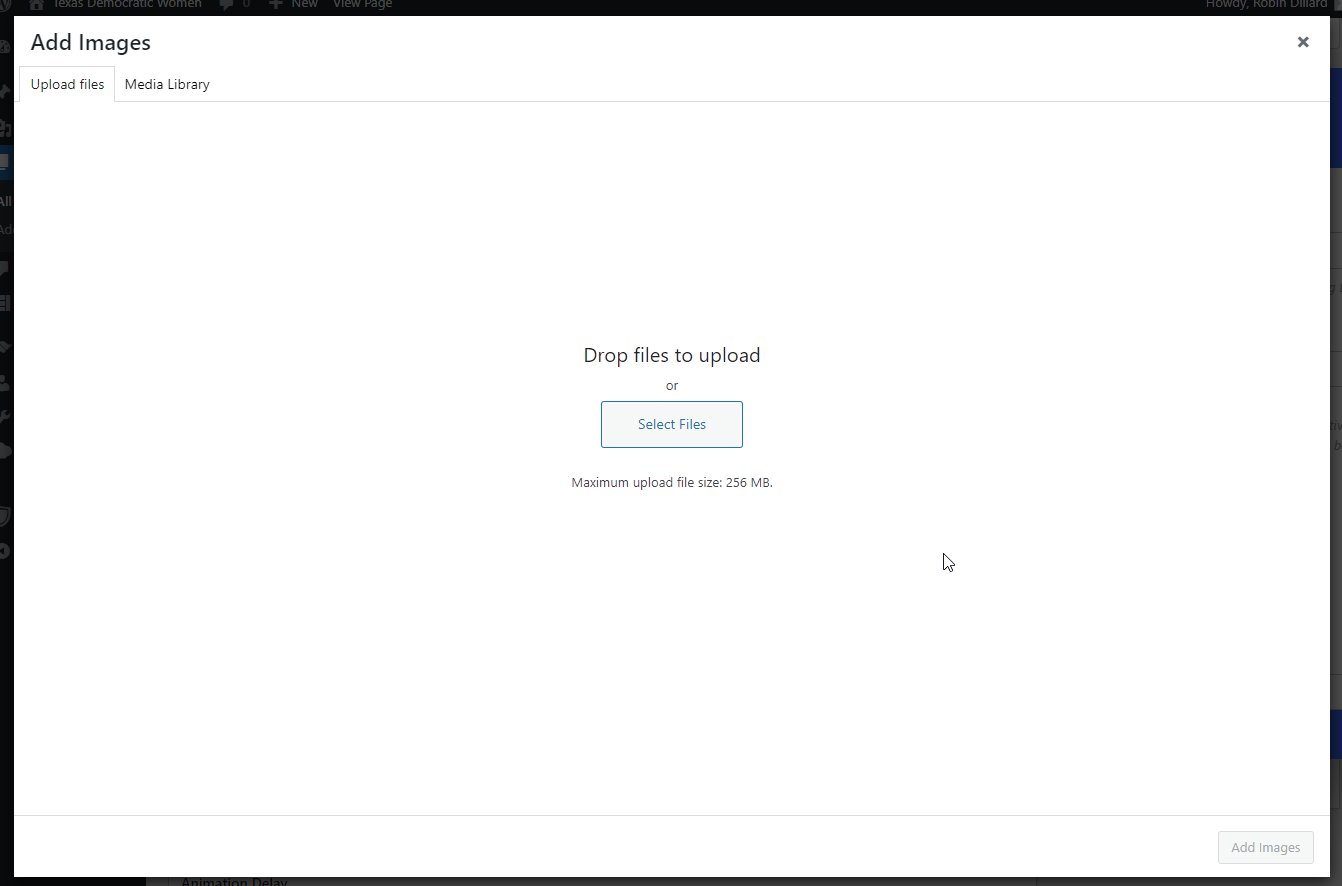
Drop or select your image files
Click the Add images button.
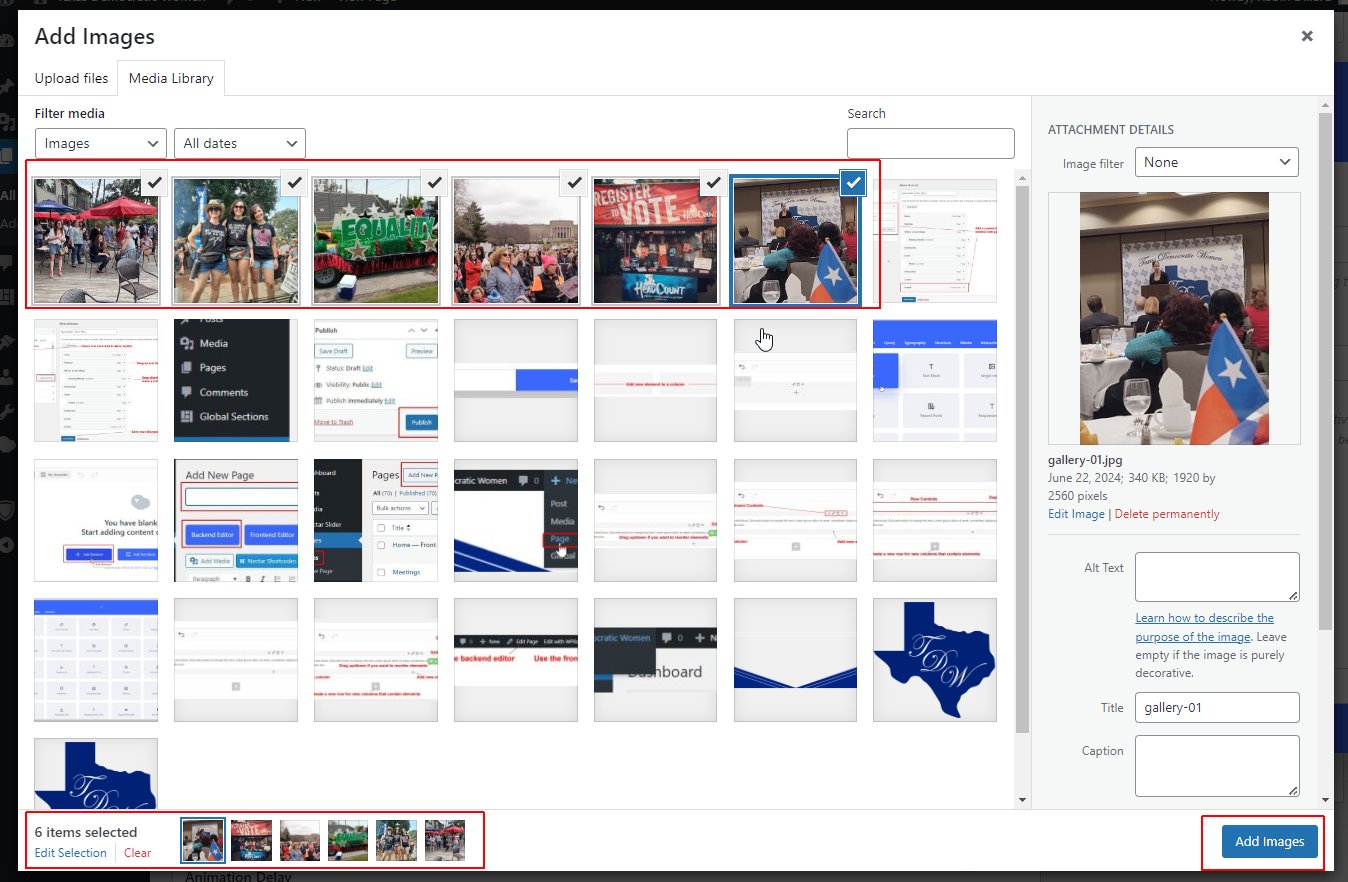
When your images have finished uploading, you will see them in the Media Library with a checkmark in the upper right-hand corner of the thumbnail.
You also will see a summary of the checkmarked images in the bottom left-hand corner of the screen.
Check or uncheck images to add or remove them from the group.
Click the Add images button.
You will see thumbnail images under the control popup’s Images section.
You can drag to reorder the images or click the X over an image to remove it from the gallery.
You also can click the + icon in the blank thumbnail to add more images.
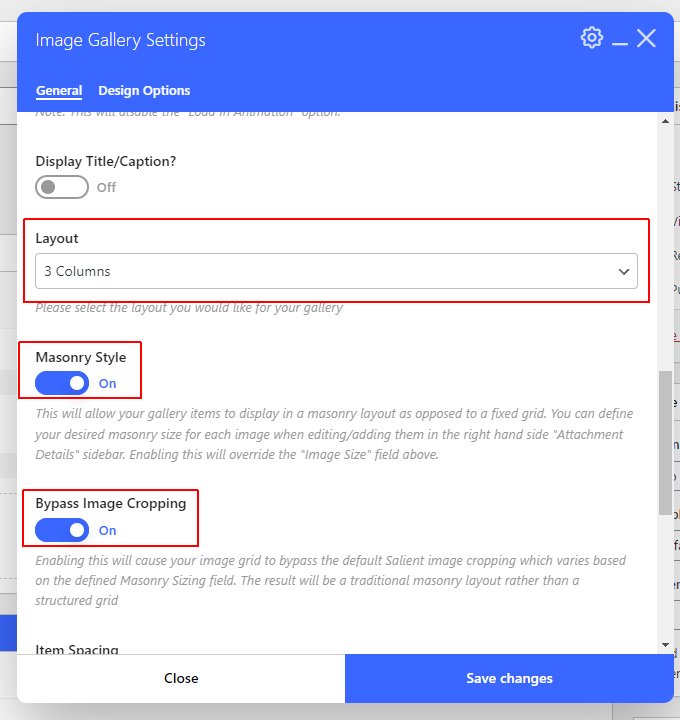
Scroll down in the control popup to the Layout section and select the number of columns for the gallery.
Toggle the Masonry Style button On or Off to display the gallery in a masonry (On) or fixed grid (Off).
Toggle the Bypass Image Cropping On or Off to control if you want your displayed gallery images to be cropped to a uniform size or not.
Click the Save Changes button.
You will see tiny thumbnails of your images on the Image Gallery control.

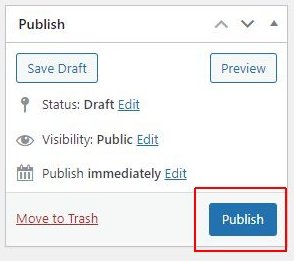
Click the Publish (or Update) button in the right navigation area to save all the changes to the page.